How to Make the Best Sugar Wax for Hair Removal at Home
I was recently introduced to an easy, less painful way to wax at home called sugaring. Everything I read on the world wide web made it sound so easy to make sugar wax that I had to give it a try.
Today we're diving into:
- What is sugar wax
- How to make sugar wax at home
- Prepping the skin for sugaring
- How to apply sugar wax
- Soothing the skin after waxing
What is Sugar Wax?
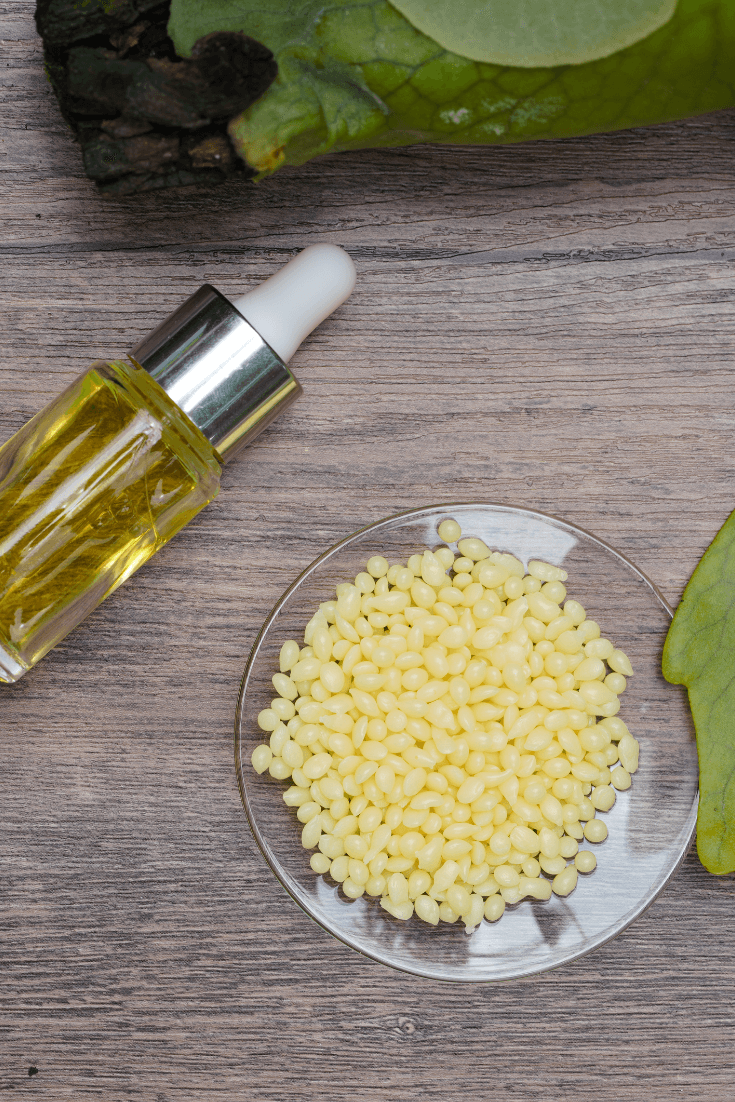
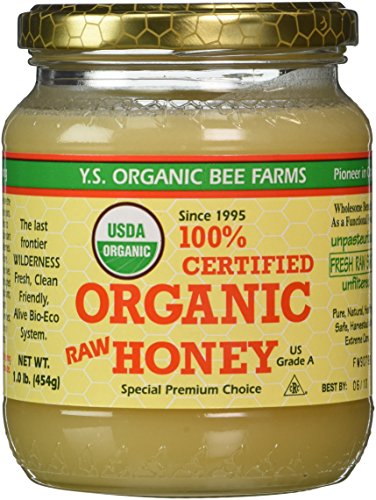
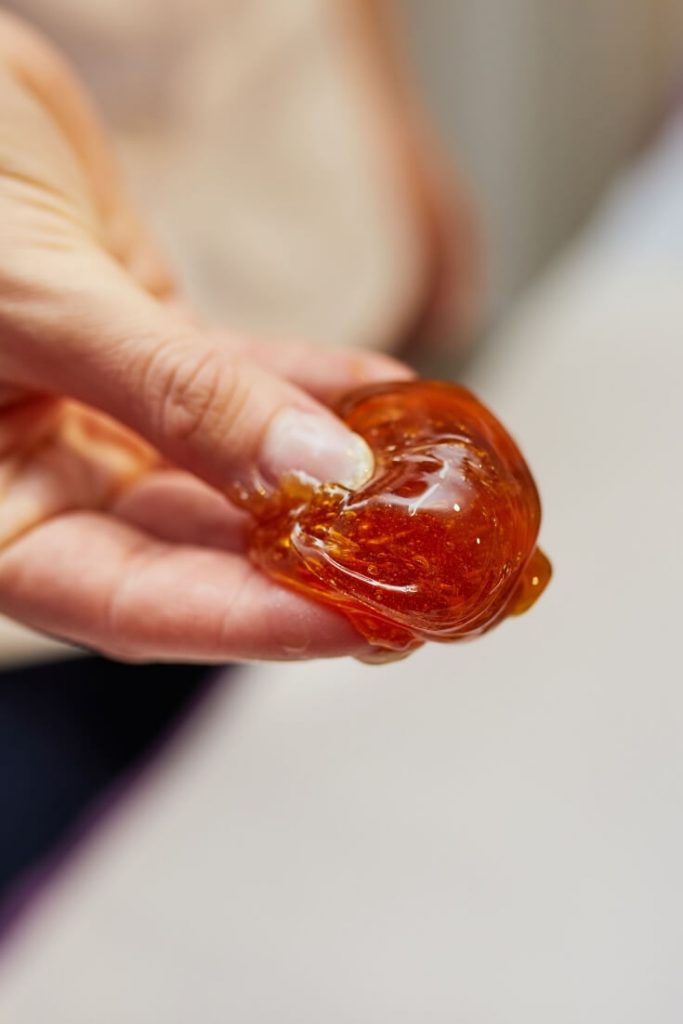
Sugar wax is a wax that is made by heating sugar, water, honey and lemon juice together.
I love that you can create your own completely natural sugaring wax at home with just a few ingredients.
If you've ever paid for a wax at the salon, you can spend a pretty penny, but with sugaring, the cost is extremely low and you just need a few ingredients.
Sugar wax is natural and contains no harsh chemicals, which means it’s safe for all skin types.
It's also:
- Inexpensive
- Easy to make
- No harsh scents
- Doesn't irritate the skin
As with most skincare products, some people may react to sugaring. Make sure you test a small area before diving in.
I have super sensitive skin and I had no issues, but it's always best to err on the side of caution.
How to Make Sugar Wax
Now to the fun part, making your homemade sugar wax!
The first step will be gathering your ingredients and the tools you will need.
Homemade Sugar Wax Ingredients
You will need the following ingredients:
Tools You Will Need:
You will need the following items to make your sugar wax:
- Small Saucepan
- Candy Thermometer or Laser Thermometer like this one
- Wooden Waxing Sticks
- Cloth Strips (optional)
- Small Jar to store your sugar wax
Homemade Sugar Wax Recipe
Making your own homemade sugaring wax is so easy! Just follow the simple steps below!
Materials
Tools
- Small Saucepan
- Candy Thermometer
- Infrared Thermometer Gun
- Wooden Waxing Sticks
- Cloth Strips (optional)
- Small Jar to store your sugar wax
Instructions
- In a saucepan, combine water and lemon juice
- Heat slowly bringing temperature up to 250F / 121 degrees C
- Then add in sugar and honey while stirring continuously
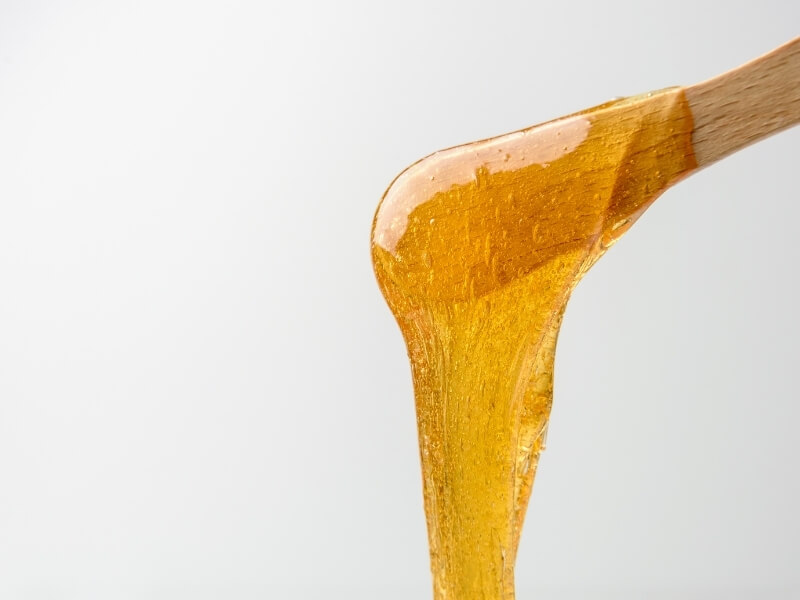
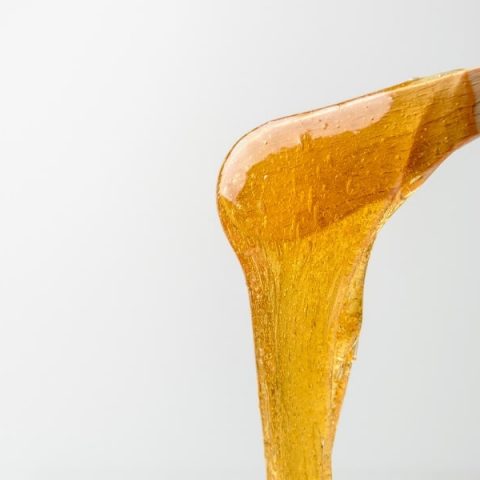
- Lower heat to a simmer and stir until the color becomes a golden color
- To test if your sugar wax is ready, drip a small amount of the mixture into cold water and see if it forms a ball, if not keep boiling and testing until you get to that point!
- Now you're ready to transfer your wax to a heat safe bowl.
Notes
While the mixture is boiling, you can place your glass storage container in a sink filled with cold water to cool it down. Once cooled, have everything ready to go so you can quickly pour your sugar wax into the jar before it starts to solidify or harden.
Your sugar wax needs to be about body temperature when applied so if it cools too much while you are applying it, just put the jar in a pot of warm water or microwave for a few seconds to get the right consistency.
Recommended Products
As an Amazon Associate and member of other affiliate programs, I earn from qualifying purchases.


How to Prep the Skin for Sugaring
A good way to prepare for waxing at home is by washing your skin with a gentle cleanser and making sure the skin is completely dry and free of any oils, lotions or product.
If you have sensitive skin, make sure you take a hot shower or bath before waxing at home because steaming your skin before waxing can help reduce pain.
You can also use a gentle exfoliator to get rid of any dead skin cells that might be sitting on the skin's surface.
Note: It is recommended to gently exfoliate several days before you wax, but not the day of.
How To Apply Sugar Wax
Once your skin is prepped and you've psyched yourself up, it's time to apply your DIY sugar wax.
First, you want to make sure your wax is at a temperature that is comfortable and won't burn the skin.
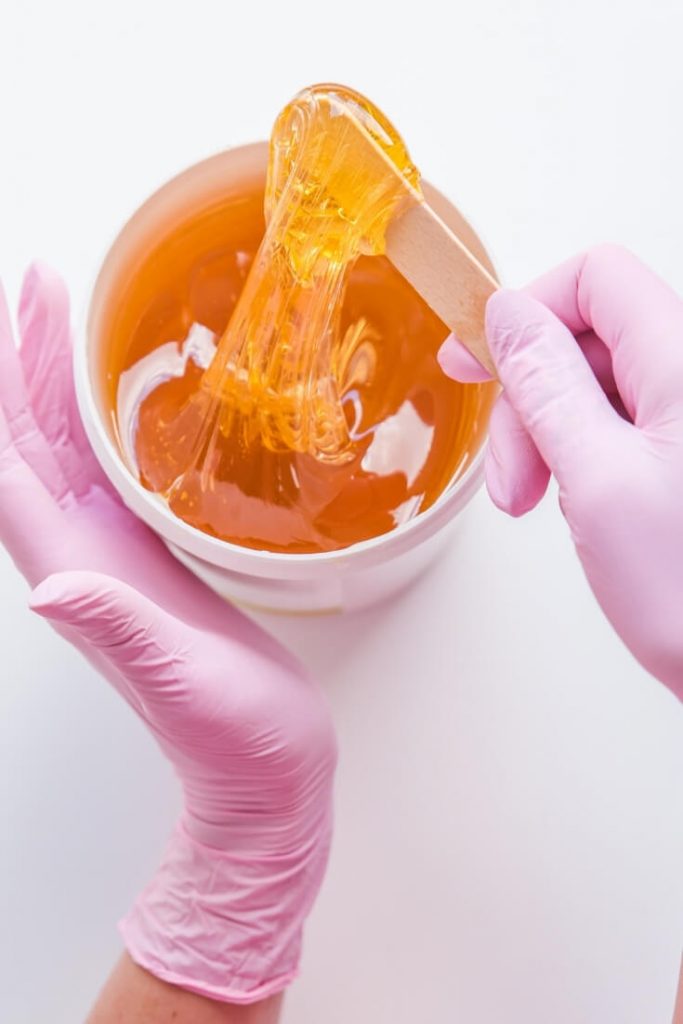
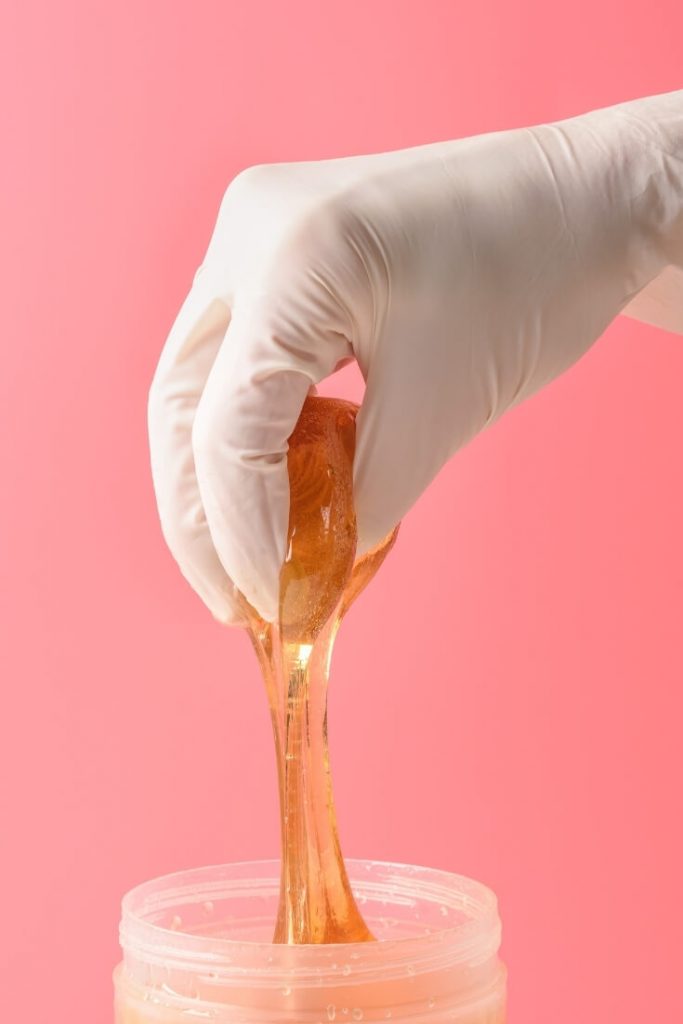
Once the temperature and consistency are good take a scoop of sugaring mixture out of your pot.
I have seen sugaring videos where the wax was scooped out by hand and applied.
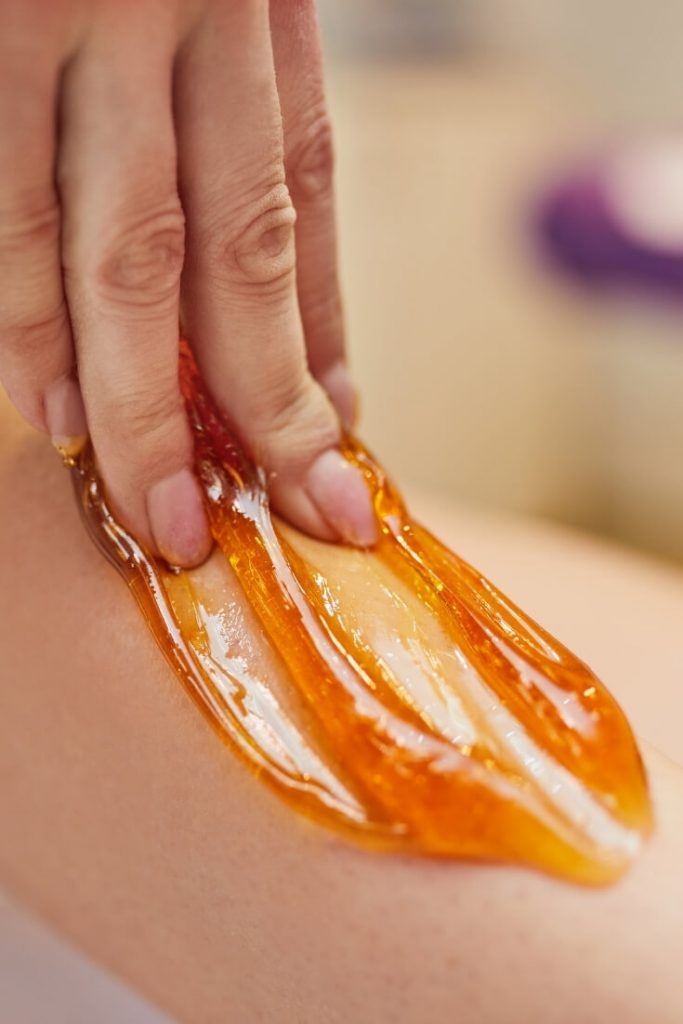
I chose to use wooden application sticks like these.

You want to make sure you have enough wax to cover the skin without having too much extra, it needs to be a thick layer of sugar wax over the skin for best results.
Make sure you leave ridge at the end so you can grab and pull the sugar unless you choose to apply a cotton strip to remove.
Some people like to use fabric strips applied on the wax for removal. I haven't tried this, but you can easily find fabric strips on amazon if you prefer.
How To Remove Sugar Wax
After your done applying sugar wax, remove the wax in the opposite direction..
Don't pull your wax off at angles or straight up but in a parallel motion.
The same rules apply to removing sugar wax as they would regular waxing-pull your skin taut and pull quickly.
You can go back over areas that were missed until you achieve the results you're looking for.
After Sugaring Care
After sugaring use warm water and a washcloth to gently remove any residual sugar wax.
To soothe the skin, you can apply aloe vera gel. This will help cool, soothe while calming inflammation and redness.
For 24 hours post sugaring, avoid:
- Sweaty activities or things that could cause rubbing and irritation to the area
- Tanning & direct sunlight
- Hot baths, hot tubs, saunas or swimming
- Conventional lotions & creams
Sugar wax is great because it's less painful than regular wax, faster to make and leaves skin silky smooth!
At Home Sugar Wax Benefits
There are some great benefits to sugar waxing at home, including:
- Saves Money: A professional waxing session can cost upwards of $50 and you will need to visit the salon every 4-6 weeks, sugar waxing at home is a great money saver!
- Safer for Sensitive Skin: It has been said that sugaring can be better for sensitive skin than regular waxing because it is much gentler and doesn't adhere to the top layer of skin like some waxes. If your skin easily breaks out or tends to be irritated by waxes, sugar wax may be an answer since it is less harsh than regular hard waxes and doesn't require strips.
- Less Painful: I have found sugaring to be much less painful than traditional waxing or hard waxes.
- Sugar Waxing Lasts Longer: Sugaring can last up to three weeks as opposed to shaving, which only gives you surface hair removal . This makes sugaring ideal for those with long-term hair removal goals.
- Organic Ingredients: You will know exactly what ingredients go into your homemade sugar wax!
At Home Sugar Wax Risks
There can be some risks associated with sugaring at home, including:
- Burns: If the consistency of your wax is too hot, the sugar can cause a burn on the skin. Please be very cautious and make sure your sugar wax has cooled enough before applying to the skin.
- Rashes: In rare cases some people have reported getting rashes from sugaring products. This could be due to an allergy or ingredient sensitivity. It is recommended to test a small patch of skin on yourself before applying it all over if you are unsure how your skin will react.
- Infections: If you have open cuts or scrapes on the skin already, you will want to avoid sugaring these areas. I would also suggest being cautious when it comes to reusing your sugar wax as it may become contaminated during sugaring.
DIY Sugaring Wax FAQ's
Although learning how to make a sugar wax seems pretty straightforward, there are some common questions that tend to come up like:
Is Sugar Waxing at Home Easy?
Sugaring is an easy way to remove hair at home. You can buy sugaring wax or make your own like we do!
Will Sugar Waxing Reduce Hair Growth?
It is suggested that if you sugar wax on a regular basis that hair growth will be reduced. I can't confirm this as I'm still new to sugaring. 🙂
Can You Reuse Sugar Wax?
It may be possible to reuse sugar wax on the same area, but there can be some risks involved. Because it is possible for your wax to become contaminated with bacteria after use, you will want to avoid reusing wax on more than one person and/or in more than one area of the body.
We recommend making a fresh batch of sugaring wax for each use.
Is Sugar Waxing Good for Your Skin?
Sugaring is great for your skin! It pulls the hair up by the root and doesn't adhere to your top layer of skin like some other waxes which is much gentler. I've found it to be less irritating than traditional hot or strip wax, but everyone's skin is different.
Is Sugaring Better than Waxing?
Although both sugaring and waxing can be great hair removal options, I personally prefer sugaring because it's a bit less painful and gentler on the skin. I also find sugaring to be way less messy and easier to clean up and remove from the skin.
How Long Should You Wait Between Sugaring Sessions?
It is suggested that you wait at least 3 weeks between sugaring sessions to let the hair grow out.
Should You Use Coconut Oil After Sugaring?
Coconut oil can be applied after sugaring to moisturize and soothe your skin. I prefer to use aloe vera for its soothing properties. Some people cannot tolerate coconut oil as it may cause breakouts and irritation for those with sensitive skin.
Can You Sugar Wax the Face?
Yes, sugaring wax can be used for the face and other body parts! I haven't personally tried it on my face. The facial skin is thinner and it can be more sensitive so just proceed with caution if you decide to use this method for removing facial hair.
How Do You Heat Up Sugar Wax?
You can use a microwave or hot water bath to heat up the sugaring wax. It's best to start with room temperature wax because it can potentially burn if it gets too hot.
Wow, we've covered a lot and hopefully you've learned everything you need to know about sugar waxing!
In conclusion, there are many benefits to making your own sugar wax at home!
Sugaring is less painful than regular waxing, saves money and time since it lasts longer and has organic ingredients!
There are some risks associated with sugaring including burns from being too hot or rashes due to allergies or sensitivities. But I believe the benefits outweigh the risks.
Just remember to be safe and use caution when doing your waxing at home!
If this post has been helpful to you, please share and pin for later!