Making your own bath bombs can be intimidating. Maybe you've tried to make homemade bath bombs and they just haven't turned out? That's why today you will learn How to Make Bath Bombs the Easy Way. No more stress or flops!
Why Learn How to Make Bath Bombs?
- You don't have to worry about bath bomb ingredients not being safe for you and your family
- Save lots of money because the price of bath bombs is, well just ridiculous!
- Create a Spa like experience in your bathtub
- Kids LOVE bath bombs making bath time so much more enjoyable.
Conventional Bath Bomb Ingredients
If you're concerned about the long list of ingredients you can’t pronounce on a bath bomb label, you should be!
Store bought bath bombs contain questionable ingredients like fragrance, artificial colors and glitter and who knows what else.
Remember, what you put on your skin gets absorbed into your body. The last thing you want to do is sit in a bathtub full of mystery ingredients.
And you definitely don't want your kiddos being exposed to all that yucky stuff!
Kids Love Bath Bombs
My daughter’s friends introduced me to bath bombs. Lush bath bombs to be exact.
Imagine a group of pre-teen girls gushing in excitement about what color and scent bath bomb they had tried, while my own daughter had never tried them.
At the time, it seemed like bath bombs had become an overnight success. Or maybe I just tend to live in my own little world unaware of what is going on in the world around me.
Honestly, I felt a little sad for her.
So later that night my daughter and I watched a few You Tube videos on bath bombs. She was excited and wanted to make her own bath bomb right away!
The more colorful the better.
So what did I do?
Bath Bomb Fail
Thanks to Amazon for 2 day shipping on my bath bomb mold,I threw together a batch of DIY bath bombs.
My daughter wanted color, so I added some pink mica I had on hand from soap making.
It turned out to be an epic bath bomb fail.
The metal bath bomb containers I used made it impossible to get the bath bomb out of the mold once it dried. But…. we made the best of it.
We just dumped the whole thing in the bathtub still in the mold.
Then when they used the bath bomb, the mica stuck to everything in the tub and left a giant mess behind.
I knew there had to be a better way!
How to Color Bath Bombs Naturally
Here are a few tips:
- Use the bath bomb the day before you expect to clean you tub and bathroom
- Use a spice as a natural colorant
- Skip the colorant altogether and use dried herbs instead
I know the kids love the colors, but I prefer to use dried herbs for their medicinal benefits. So much better for you then fragrances and artificial colorants.
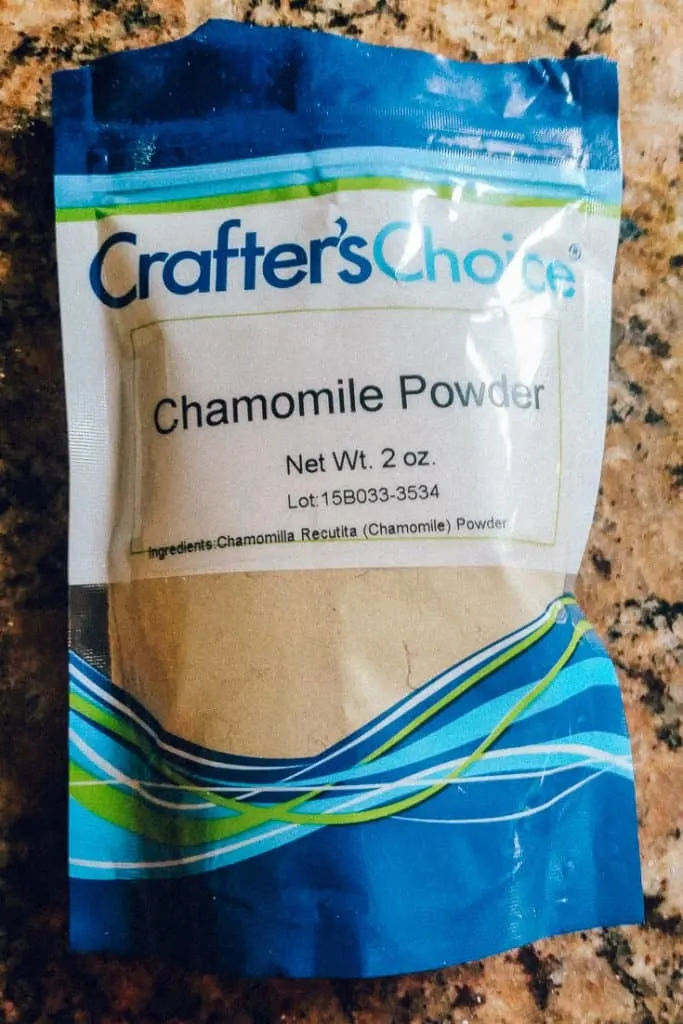
NOTE: Be mindful of what herbs you use. Some may have larger chunks that you have to clean up later.
Or you can grind your herbs into a powder and forget the mess.
Natural Scents for your Bath Bomb
Just like artificial colors, artificial fragrance is no good in your bath. While it may smell like bliss, it could be wreaking havoc on your health and the health of your little ones.
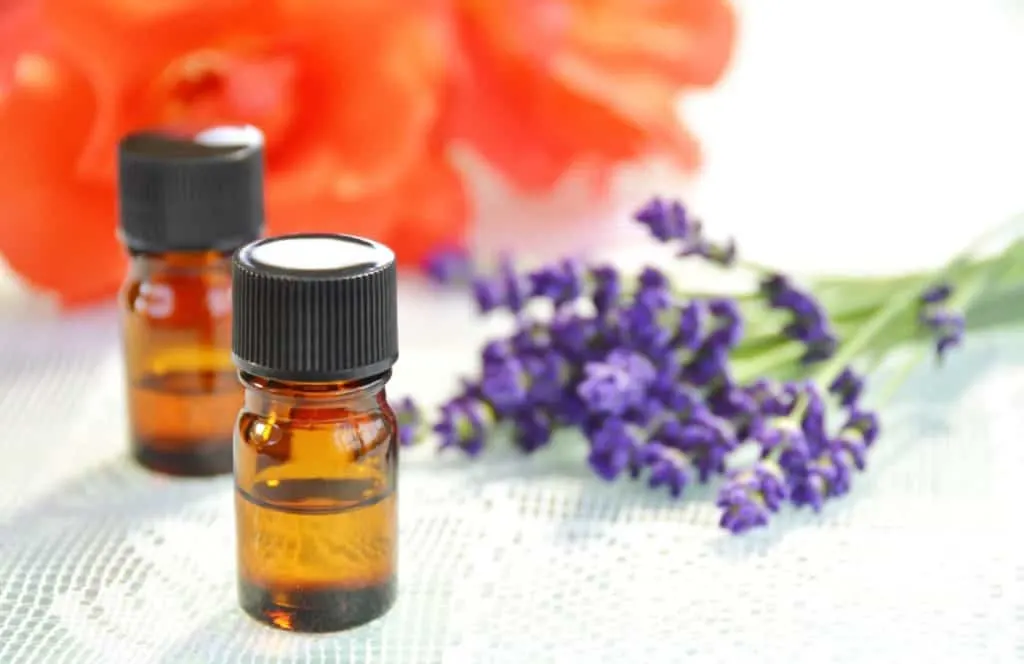
Lavender essential oil is my favorite. It's safe on kids of all ages and it works wonders to promote calmness.
Make Therapeutic Bath Bombs
Most commercial bath bombs are really just for show. You get a fizzy, colorful experience with little benefit.
But simply by adding herbs and essential oils to your bath bombs, you will get a similar experience that your body will thank you for.
The essential oil possibilities for your bath bombs are endless! Lavender and an anti-aging blend are my favorites, and a calming blend for my kids helps them unwind at the end of the day.
Here are a few other tips to help your kids fall asleep.
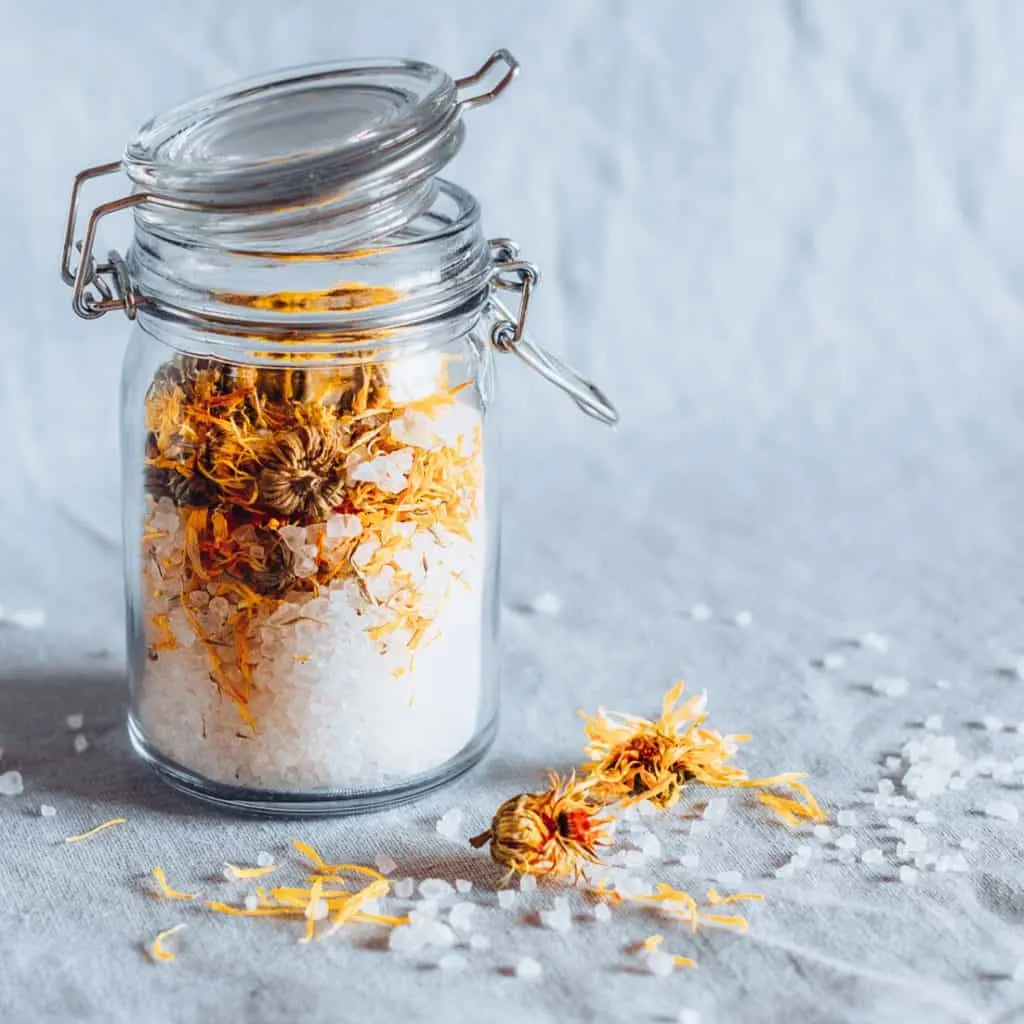
Dried hibiscus petals are great for an anti-aging boost, pus they add a wonderful color!
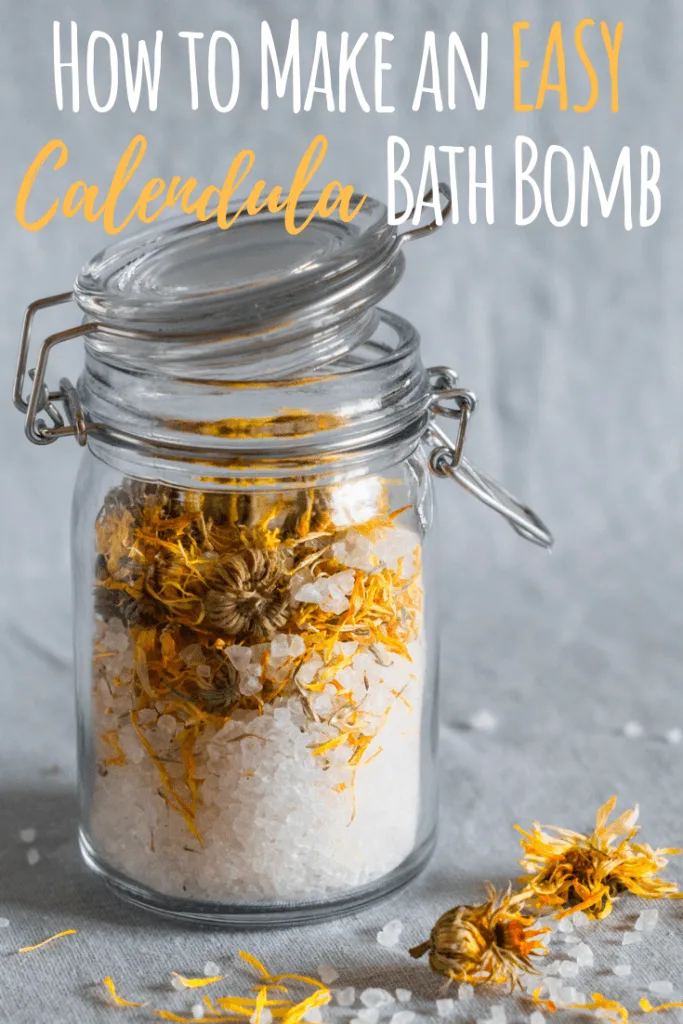
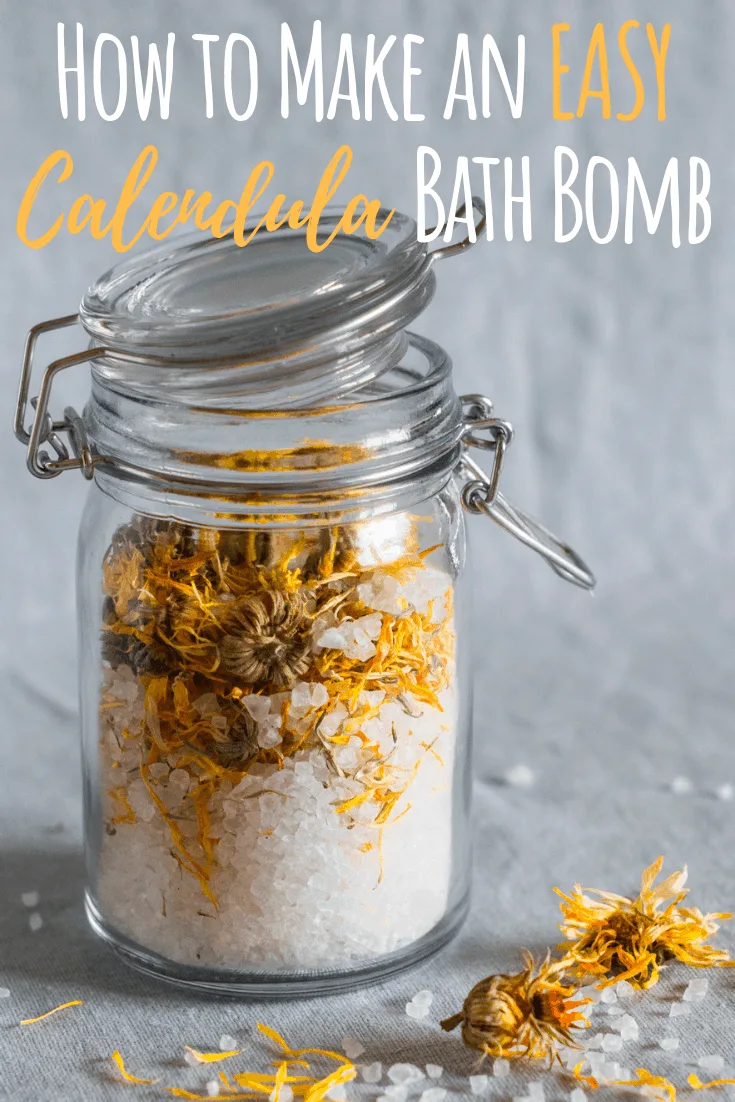
Dried calendula can help relax sore muscles – from that workout or chasing the kids all day.
The carrier oil you use can have beneficial properties too! Grapeseed oil is my favorite.
Make sure you choose an oil that is safe.
Possible chemical contamination in cooking oil is more common then you realize! Learn 3 simple ways to avoid it!
How to Make Bath Bombs
Bath bombs take just a few minutes to make, from gathering ingredients to clean up. Takes me around 20 minutes from start to finish.
I don't use a typical bath bomb mold. The one I tried didn't turn out anyway!
I use my silicone molds for soap making.
And the BEST part is they push right out of the mold with ease!
The downside is it can be tricky to get the bath bomb to get fully compact when pressing it into the mold so you may not end up with perfection.
But the kids love all the cute shapes… much more exciting then a ball right?!
Plastic molds are another good option. Just pop them in the freezer for 20 minutes before unmolding to help get them out.
Bath Bomb Recipe & Instructions
What You'll Need:
- Large mixing bowl
- Wisk
Ingredients:
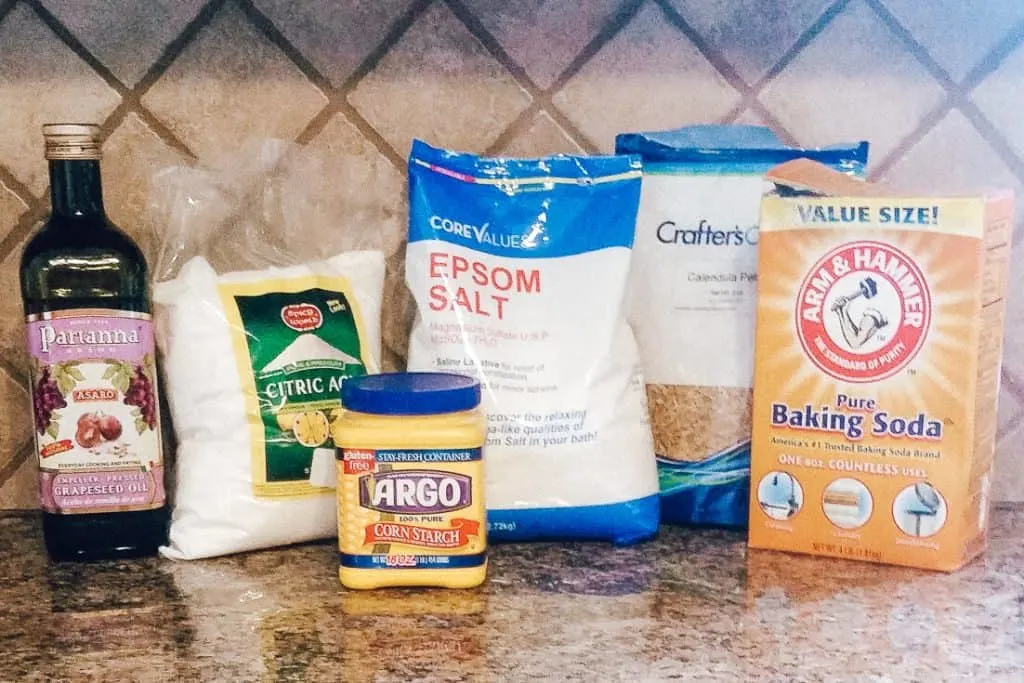
- Baking Soda – 1 cup
- Citric Acid – 1/2 cup
- Cornstarch – 1/2 cup
- Epson salt -1/2 cup
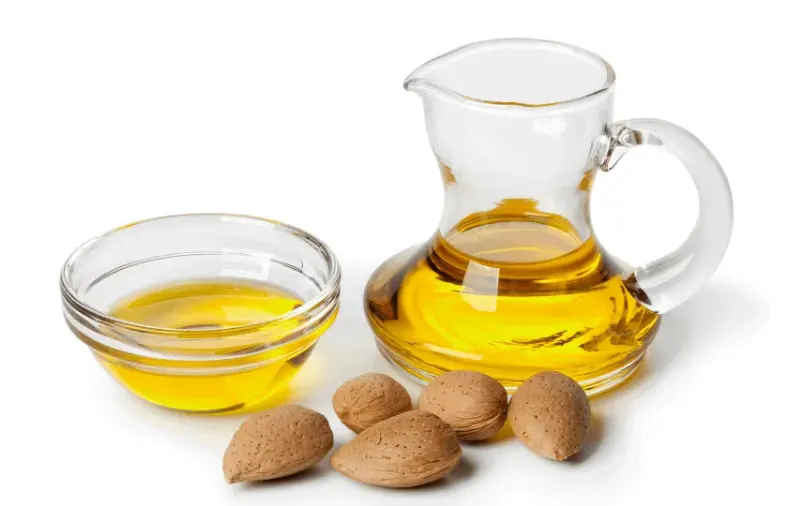
- Oil (grapeseed, castor, sweet almond, olive oil) – 3 TBSP
- Water – 1 – 2 tsp
- Essential Oils (lavender is my favorite) – optional
- Dried herbs (like like calendula) – optional
Gather all your ingredients
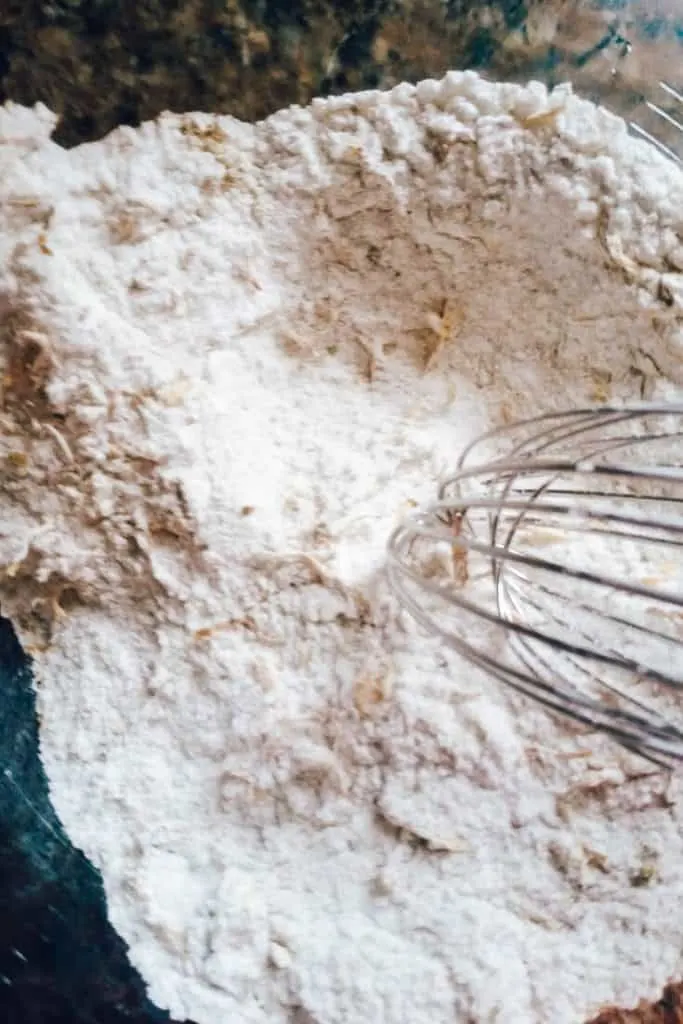
Combine all the dry ingredients only (baking soda, citric acid, Epson salt)
Combine all your wet ingredients (carrier oil, water, essential oils)
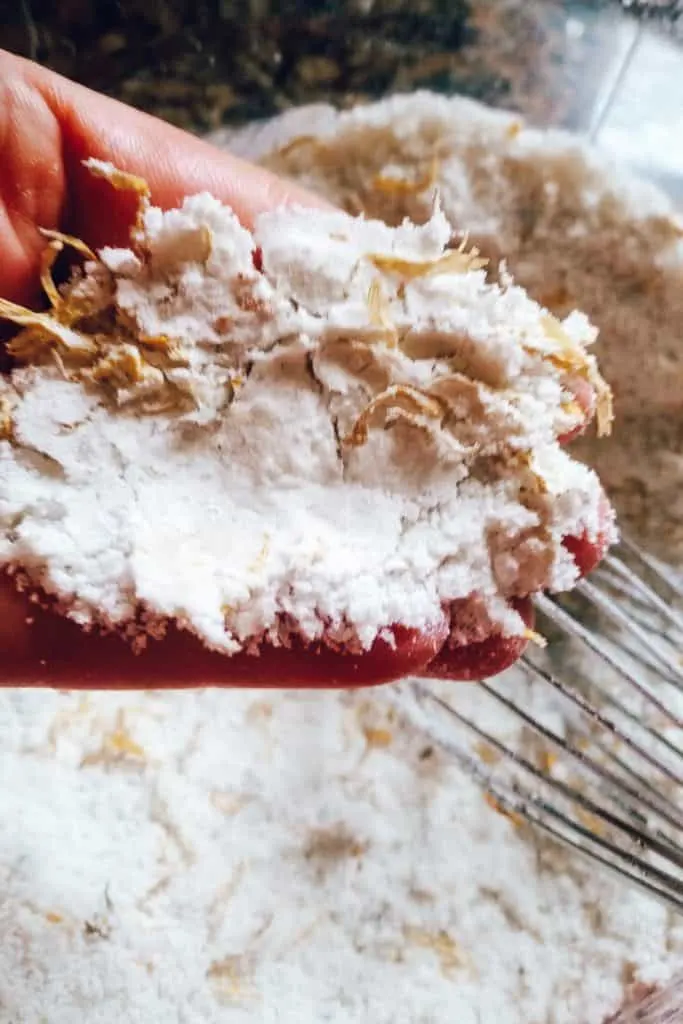
Slowly whisk in your wet ingredients (really just a tiny bit at a time). The dry ingredients will fizz when the wet ingredients are added. Try to have as little fiz as possible.
Add the wet ingredients until everything is combined. AND the powder holds together when compressed.
Add mixture to the mold and compress as much as possible.
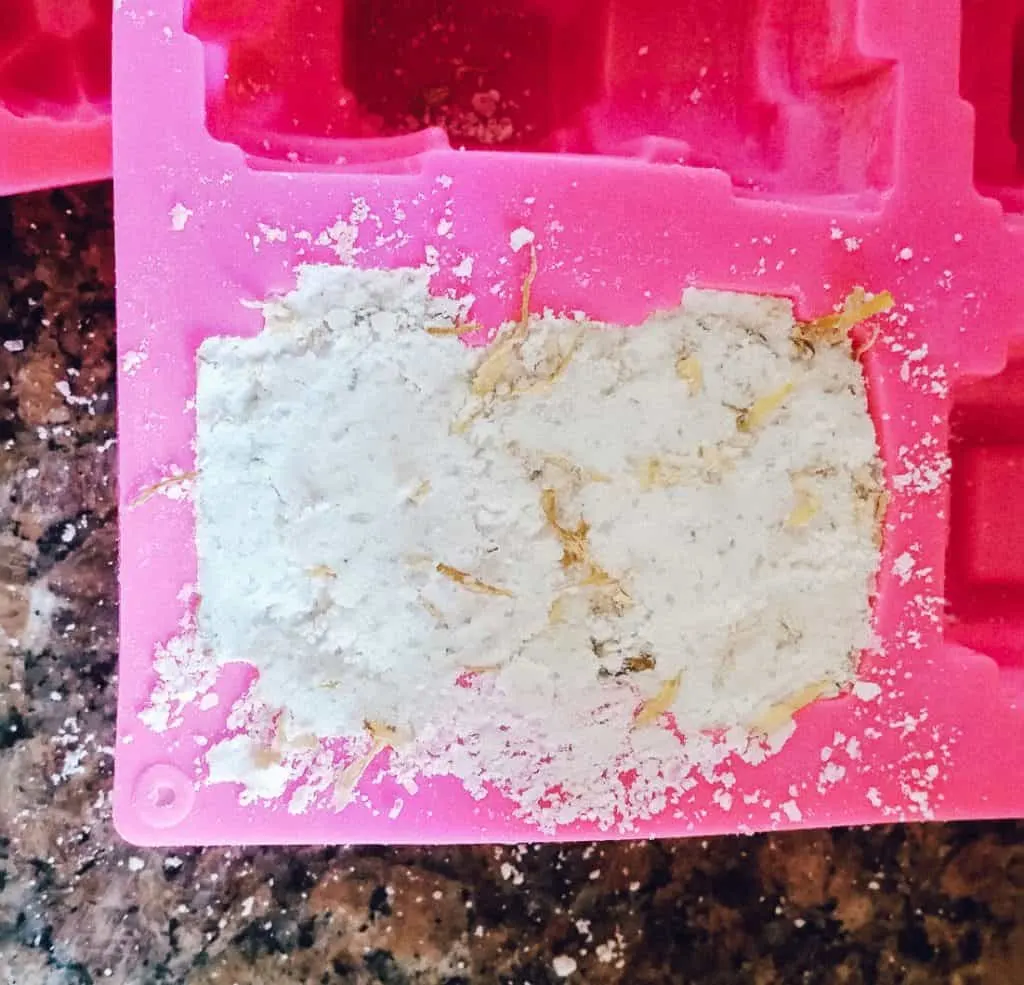
Let dry for 12 to 24 hours and enjoy!
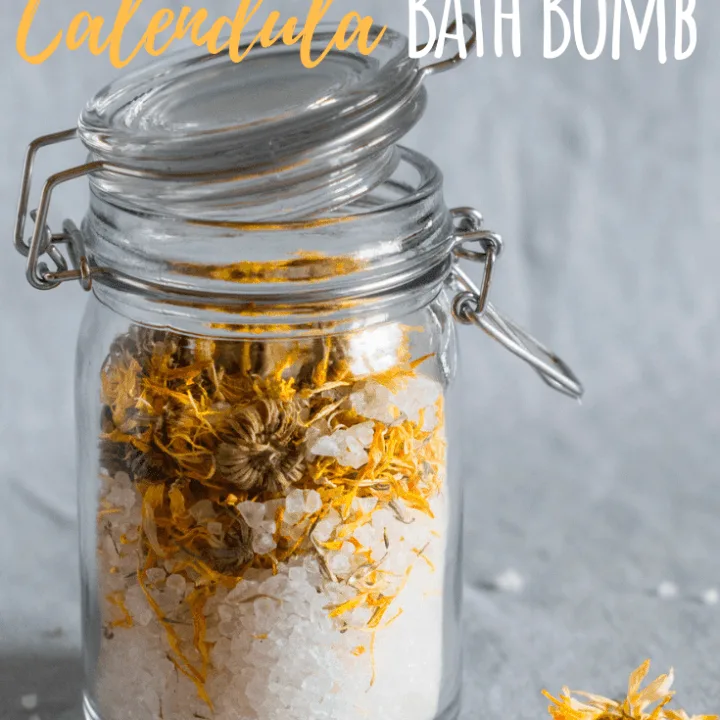
Homemade Bath Bombs with Calendula
Materials
- Baking Soda - 1 cup
- Citric Acid - 1/2 cup
- Cornstarch - 1/2 cup
- Epson salt -1/2 cup
- Oil (grapeseed, castor, sweet almond, olive oil) - 3 TBSP
- Water - 1 - 2 tsp
- Essential Oils (lavender is my favorite) - optional
- Dried herbs (like like calendula) - optional
Instructions
- Gather all your ingredients
- Combine all the dry ingredients only (baking soda, citric acid, Epson salt)
- Combine all your wet ingredients (carrier oil, water, essential oils)
- Slowly whisk in your wet ingredients (really just a tiny bit at a time). The dry ingredients will fizz when the wet ingredients are added. Try to have as little fizz as possible.
- Add the wet ingredients until everything is combined. AND the powder holds together when compressed.
- Add mixture to the mold and compress as much as possible. Let dry for 12 to 24 hours and enjoy!
Recommended Products
As an Amazon Associate and member of other affiliate programs, I earn from qualifying purchases.
Go Customize Your Bath Bombs
Now you know all the secrets to make bath bombs at home, what combo are you going to choose?

*Easy* Homemade Gifts for the Not-So-Crafty! | HealthyGreenSavvy
Monday 6th of May 2019
[…] ♦ Bath bombs take a little more effort, but they can be a fun project and are bound to impress. With just a few more ingredients, you can make your own fizzy bath bombs (instructions from Mindful Momma) or these adorable gingerbread bath bombsor gorgeeous rose cardamom bath bombs from The Pistachio Project. Simple Pure Beauty has some great ideas for coloring your bath bombs with natural ingredients. […]
Lavender Orange Bath Bombs - Holistic Health Herbalist
Friday 3rd of May 2019
[…] How to Make Bath Bombs the Easy Way! Fizzing Bath Powder Recipe with Mint, Lemon & Lavender Rose Milk Bath Bombs Magnesium Bath Bombs for Sore Muscles Forest Bath Milk Concentrate […]
Treyna
Tuesday 25th of September 2018
I’m just curious what purpose the corn starch has and if I can use more baking soda instead. Thank you
Shannon
Wednesday 26th of September 2018
Hi Treyna! Great question!! Yes the cornstarch can be omitted. I find corn starch gives my bath bombs more of a silky feel in the tub. But too much cornstarch will inhibit the fizz and make them sink to the bottom of the tub. I'm leaning towards having you sub citric acid for the cornstarch, so you still have loads of fizz. Or better yet, sub equal parts baking soda and citric acid for the cornstarch (1/4 cup of each). I hope this helps!! Enjoy :) Shannon