
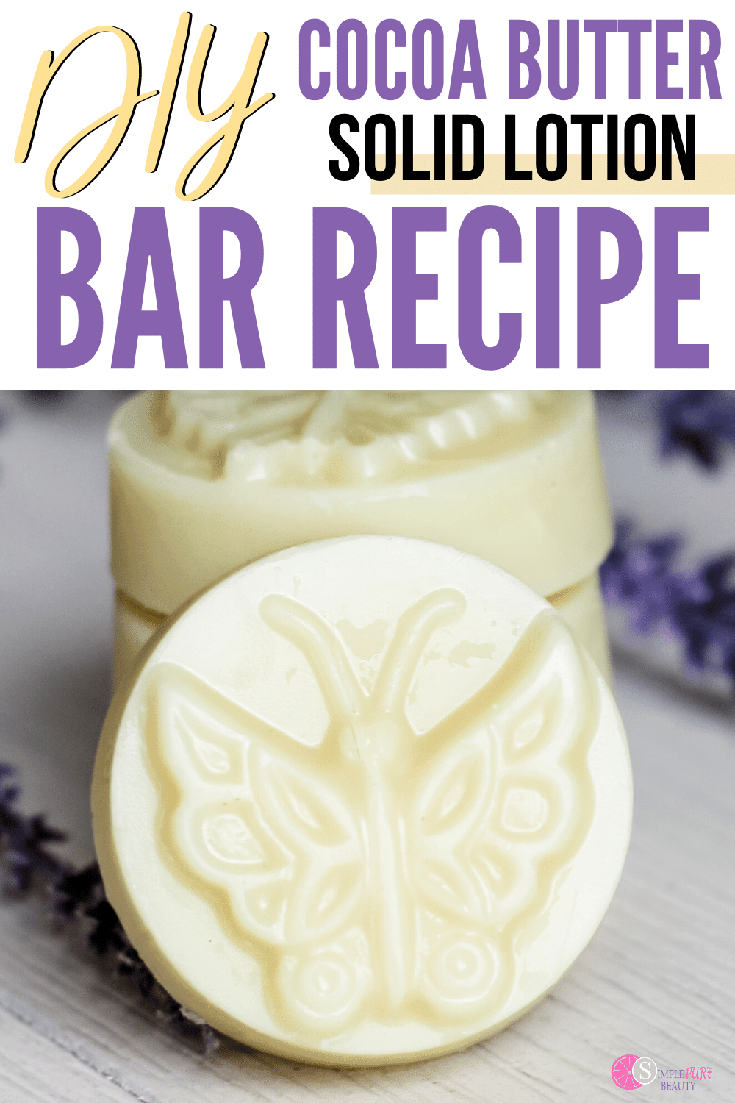
DIY Cocoa Butter Solid Lotion Bar Recipe
Are you ready for an all-natural solid lotion bar that your skin will literally be begging for all year long? Gentle on your sensitive skin but strong enough to keep your skin safe even in harsh weather? Well, we have it right here all wrapped up in a pretty little bow just for you!
This time of year, my skin can get so dried out. That's why I love these lotion bars we are making today!
Keep reading to learn how to make the most nourishing, skin healing lotion bars!
So, what is a lotion bar?
Simply put, a lotion bar is a solid body lotion that looks like a bar of soap that acts like lotion! Lotion bars are an all-around wonderful alternative to traditional cream moisturizers.
How do lotion bars work?
When a lotion bar is rubbed between your hands, the warmth from your hands melts a small amount of the bar that can then be rubbed onto other areas. This super simple routine can provide a refreshing start to your day or give your skin the relaxing and soothing care it needs at the end of the day.
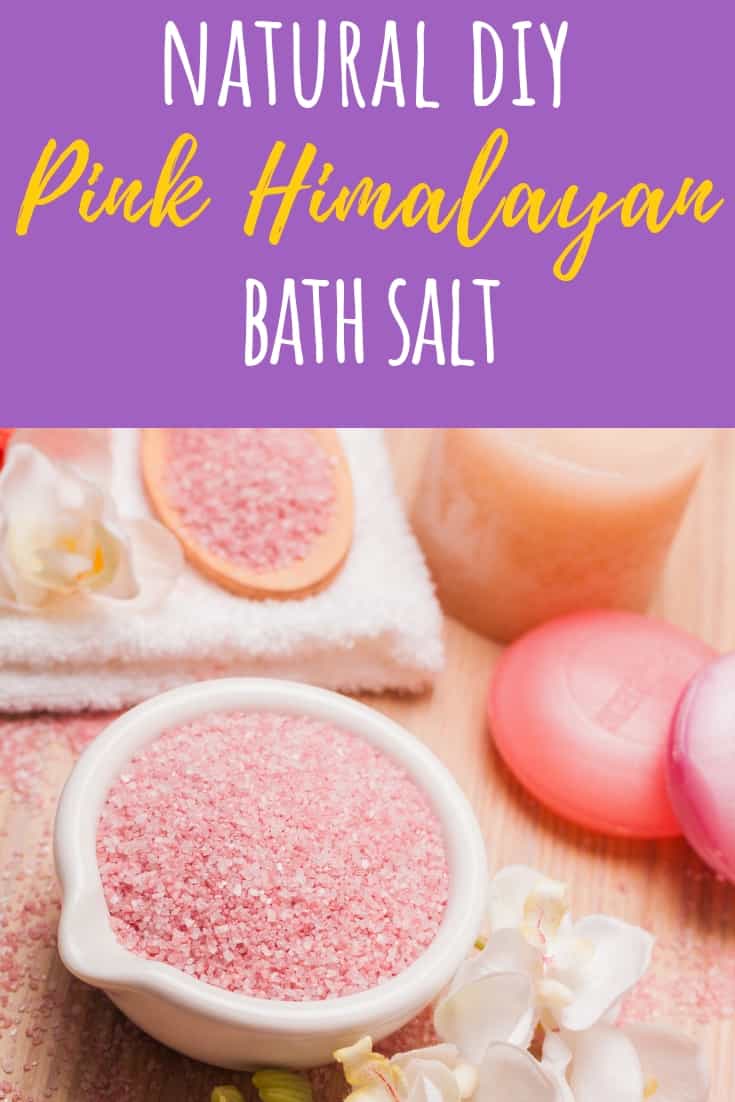
This bath soak recipe would be perfect to relax you before bed.
When should you use lotion bars?
The optimal time to moisturize the skin is while your pores are open, this means that during, or right after your shower, is the best time to apply moisturizer to your skin. This seals in moisture and protects your skin.
Why we love solid lotion bars:
Well, there’s a lot to unpack here but; there are a few big reasons that solid lotion bars are so great:
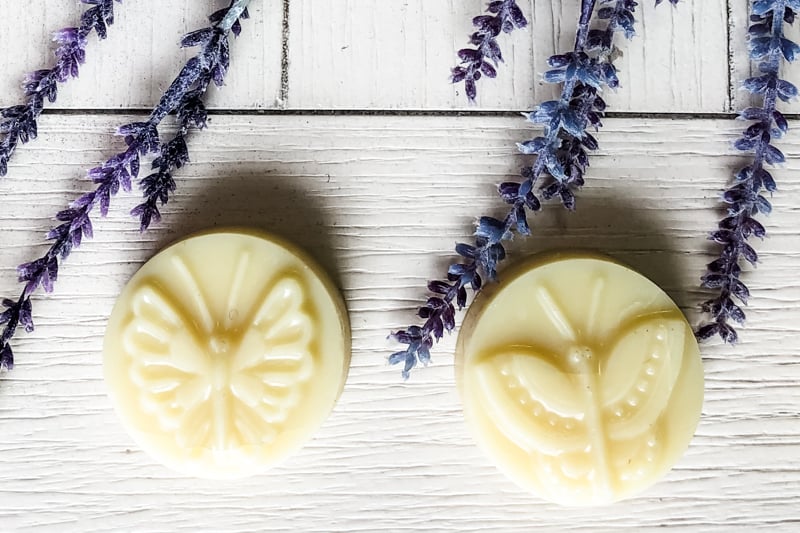
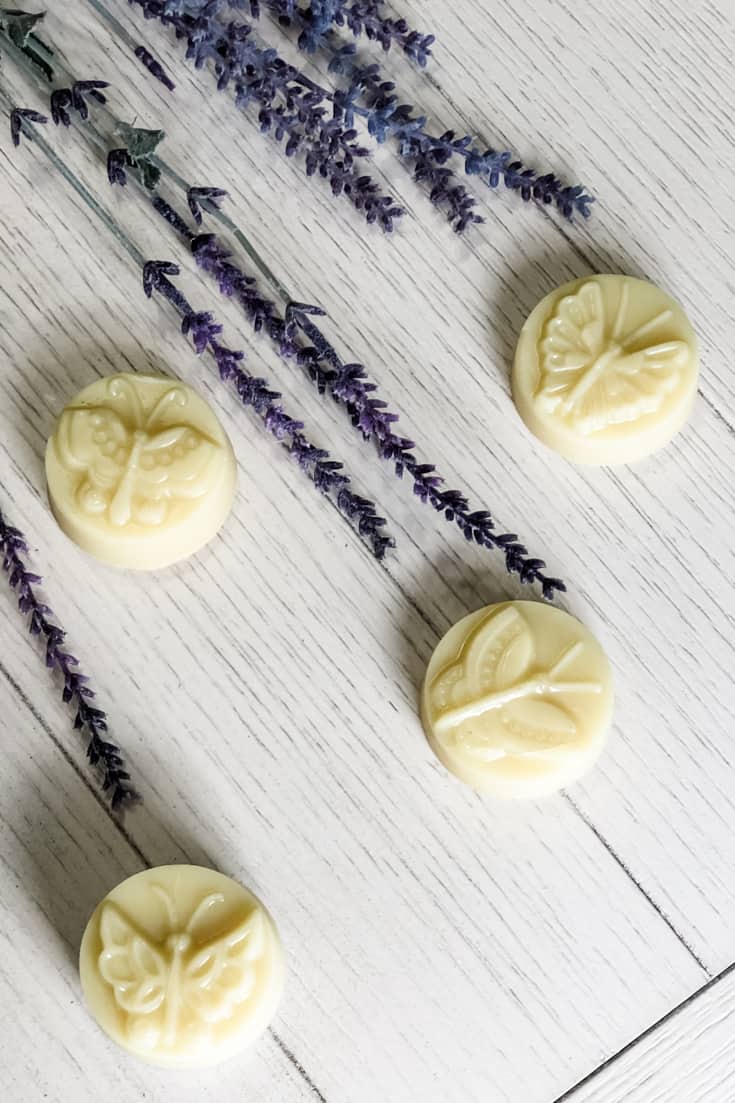
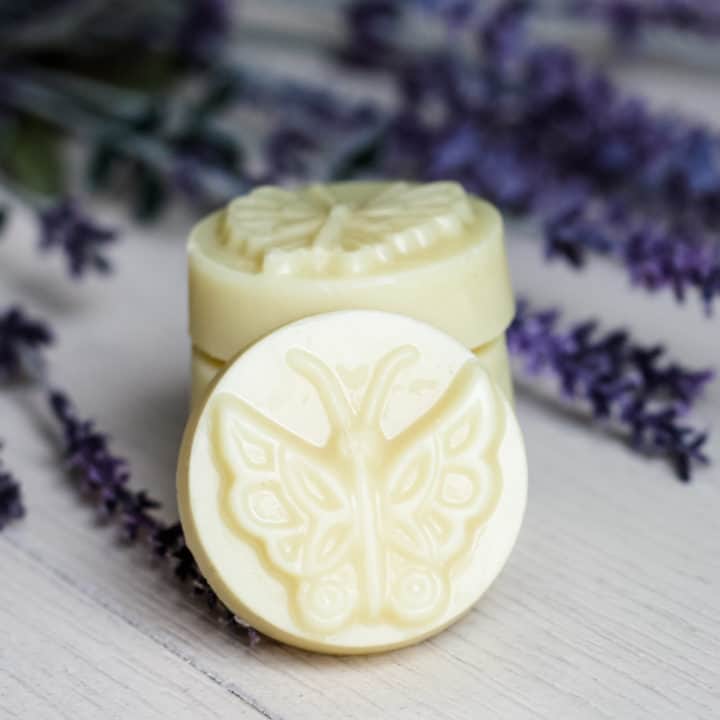
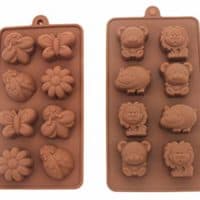
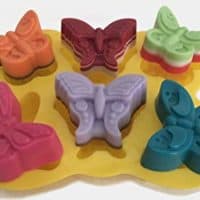
- Lotion Bars are so easy to use and make: The wonderful thing about lotion bars is that they can be made fairly easily which means, those of us with super sensitive skin can customize it to our liking! You can also customize them into fun shapes like butterflies using silicone molds! The all-natural ingredients used in many formulas can easily be obtained online and in many stores! As mentioned above, you can also use it in the shower which allows for the absolute best moisture absorption!
- Less waste: WooHoo! We all love reducing our carbon footprint; just another cherry on top, lotion bars don’t need super complicated plastic bottles with pumps that aren’t recyclable. These bars can be packaged in ways that reduce waste and increase the amount of waste that is recycled. The best part, there aren’t any preservatives to contaminate the packaging!
Solid lotion bar ingredients:
These lotion bars are made with a blend of oils that deeply moisturize, protect and repair skin. We've also included essential oil blends so that you can customize your solid moisturizer to fit your needs.
Let’s go over this recipe’s ingredients and talk about the ways they can rejuvenate your skin this winter!
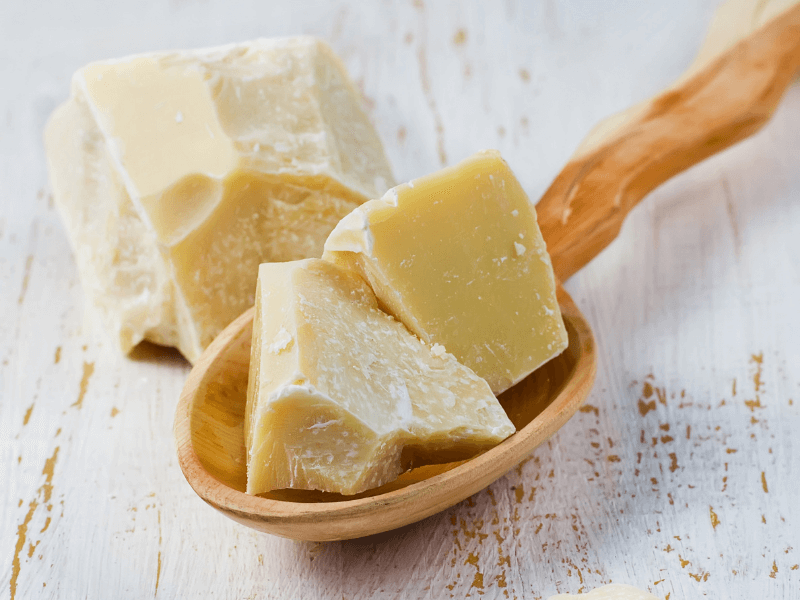
Cocoa butter is well known for its high concentration of fatty acids that hydrate, nourish and plump skin. It can increase elasticity and provide a protective barrier over skin to keep it healthy and hydrated all day long. (This cocoa butter eye cream is another great recipe using cocoa butter...)
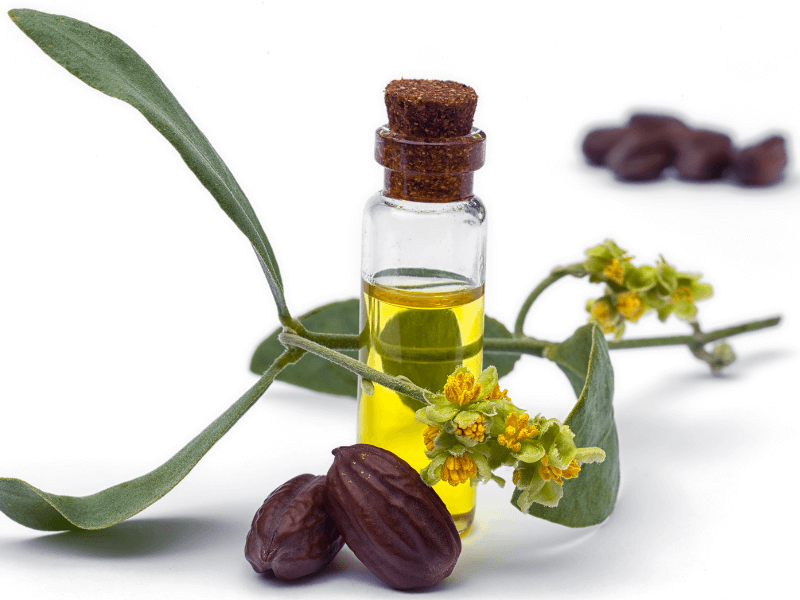
Jojoba oil has anti-inflammatory properties that can reduce redness and irritation that is often associated with eczema and rosacea. Its compounds of vitamin E and B complex can also repair skin and help control damage to the skin. (I also love using jojoba oil in face serums like this one. )
Coconut oil is very popular now due to its anti-bacterial and anti-fungal properties; this makes it an essential base for any skincare routine! It also contains healthy fatty acids that can smooth skin. (This diy hand cream utilizes all the power of coconut oil.)
Beeswax keeps the lotion bar nice and smooth, it also acts as a protectant to the skin and really seals in that moisture your skin seems to be thirsting for in the middle of the day! Beeswax is also anti-inflammatory and anti-bacterial. (These after sun face balm and lip balm recipe are made with beeswax as well.)
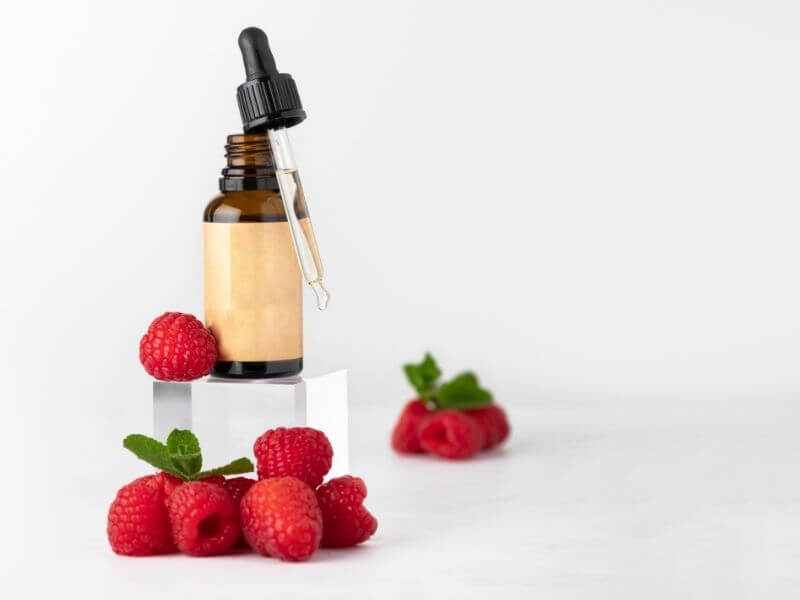
Red raspberry seed oil is another great ingredient that can help fight off redness, inflammation, and irritation. (Learn more about the benefits of red raspberry seed oil here.)
Essential oils in lotion bars:
Here comes the fun part! This recipe calls for an 70 drop essential oil blend and you can choose your own blend!
Dry, Sensitive Skin Essential Oil Blend:
Our dry and sensitive skin blend is another inflammation-fighting, skin brightening, and pore tightening combination of frankincense, lavender, and geranium oils.
These oils create a wonderful, airy fragrance and will leave your sensitive skin feeling moisturized without feeling oily or heavy.
Woodland Adventure Essential Oil Blend:
The Woodland Adventure Blend is a signature blend that puts a refreshing spin on fall scents.
With cedarwood, lavender, and eucalyptus oils your skin will not only feel cleansed, purified and clear but it will also look plump and give you that all-day glow you’ve always wanted!
Where to Buy Essential Oils for this Recipe
You can find al of the essential oils for this recipe by clicking here! I've gathered them all together to make your life easier. 😉
There are several options to save you the most money on your essential oil purchases.
- If you spend over 100 in product volume (PV), you will automatically unlock 24% in savings for 1 year. (This is the top option on the page here under "Individual Products".)
- If you add any item, any price to "Subscribe to Save" you will automatically unlock 24% in savings for 1 year + earn an additional 10% back in rewards. (This option is at the bottom of the page here.)
Do Lotion Bars Need Preservatives?
No artificial colors or preservatives: We look for these words on our snacks right? Why not on our beauty products!
Lotion bars are very often considered to be an amazing organic body lotion alternative.
Many recipes that are strictly made from butter and oils need no preservatives and are given their fragrance and color from essential oils.
How to store lotion bars:
Lotion bars are fairly low maintenance; they do need to be stored at or below room temperature so that they don’t soften and melt.
They should be stored in a cool, dry environment; since they don’t contain preservatives, it’s important that they not sit with water for too long.
All over, lotion bars are pretty easy to keep and store, and they can have an average shelf life of 12 months!
How to make lotion bars:
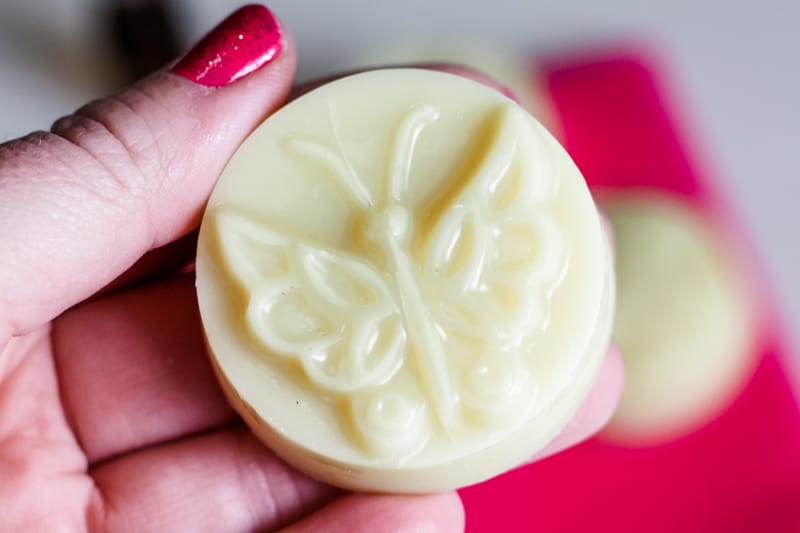
Making lotion bars is a fairly simple process of melting the ingredients, adding your essential oils then pouring them into molds.

Adding them to the molds can be seen below.
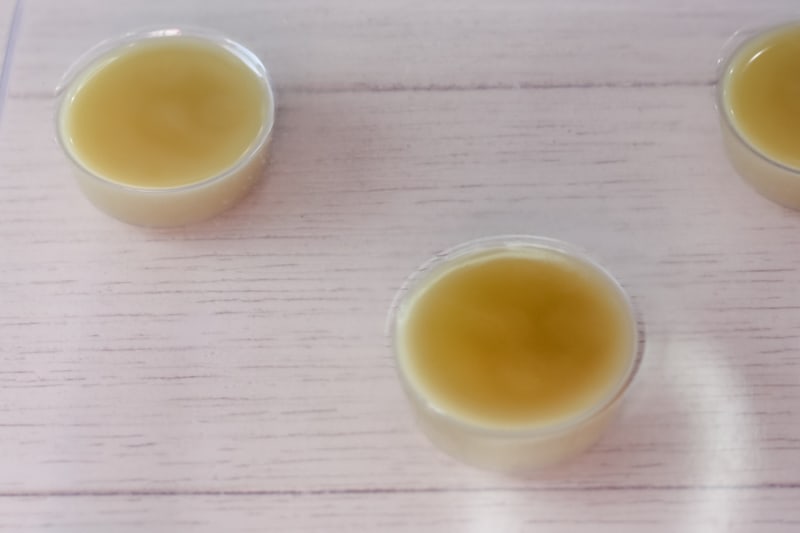
If you’re ready to get started, check out the complete recipe below!
DIY Cocoa Butter Solid Lotion Bar Recipe
This DIY Cocoate Butter Solid Lotion Bar is great for dry skin.
Materials
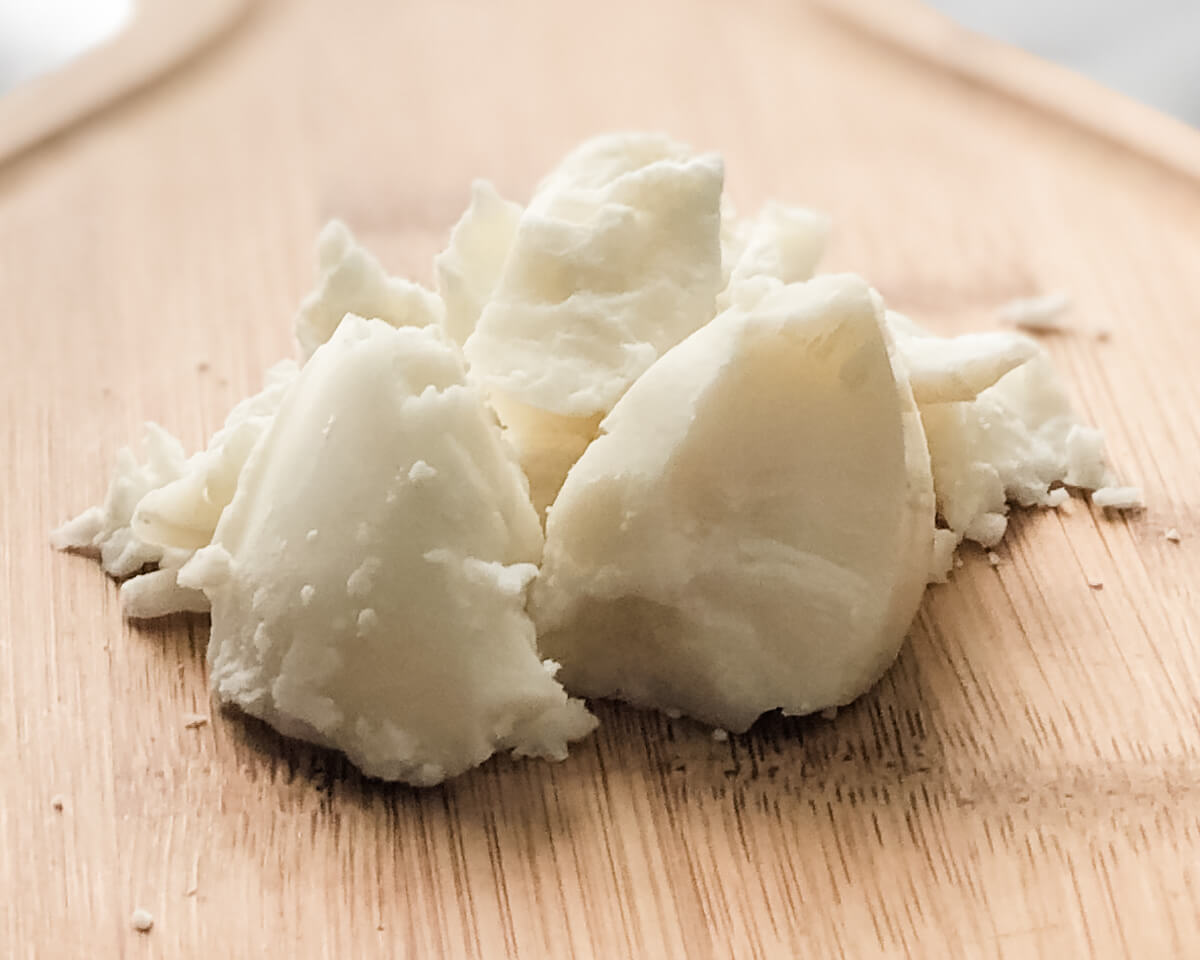
- ⅓ cup Cocoa Butter or Cupuacu Butter
- ¼ cup Jojoba Oil
- ¼ cup Coconut Oil
- ¼ cup Beeswax
- 1 teaspoon Red Raspberry Seed Oil
- Choose essential oil blend (see 2 choices below) Click here to Shop Essential Oils for this Recipe
DRY/SENSITIVE SKIN BLEND
- 20 drops Frankincense Essential Oil
- 30 drops Lavender Essential Oil
- 20 drops Geranium Essential Oil
WOODLAND ADVENTURE BLEND
- 30 drops Cedarwood Essential Oil
- 25 drops Lavender Essential Oil
- 15 drops Eucalyptus Essential Oil
Tools
- 2 cup Pyrex measuring cup
- Metal stirring element
- Saucepan
- Heat Source
- Kitchen Scale
Instructions
- Measure out your ingredients and let come to room temperature.
- Cut butter up into dime sized pieces, if butter is discs, cut in half.
- Fill a saucepan ¼ of the way with water and set on the stove to heat
- Put wax into Pyrex and place into the pot of water to melt completely.
- Add in liquid oils and stir until just melted again. Add the butter and stir until just melted again.
- Remove the pan from the heat and pull out the Pyrex
- Allow to start to cool, stirring intermittently until mixture just begins to look opaque.
- Mix in essential oil and pour into mold.
- Allow to sit in mold overnight before removing
Recommended Products
As an Amazon Associate and member of other affiliate programs, I earn from qualifying purchases.

The bottom line on lotion bars...
At the end of the day, we all want that perfect skin. Let’s be honest, winter is definitely not the season to play around with skincare. I believe that lotion bars and an easy and eco-friendly alternative to traditional moisturizers that your skin will love!
No matter when or where lotion bars are a wonderful way to care for your skin the all-natural way!
And if you loved this recipe, great news! Here is another lotion bar recipe that is sure to knock your socks off! And here is one that will give you the perfect sunkissed glow, try out this bronzing lotion bar!

thank you for this I am going to try this recipe after i get back from vacation i will keep you posted.
Awesome, let me know how it goes!
Thanks for the recipe, Mandy. However, I notice you only measure in cups would it be possible to have (alongside) written weights in grams from now on? I have noted that grams and percentages seem to be the formulators prefered method for accuracy.
Warmest wishes to you!
Hi Kate! Yes, I get requests for both types of measurements, but have moved to weights myself. I will definitely share weights for new recipes moving forward! 🙂
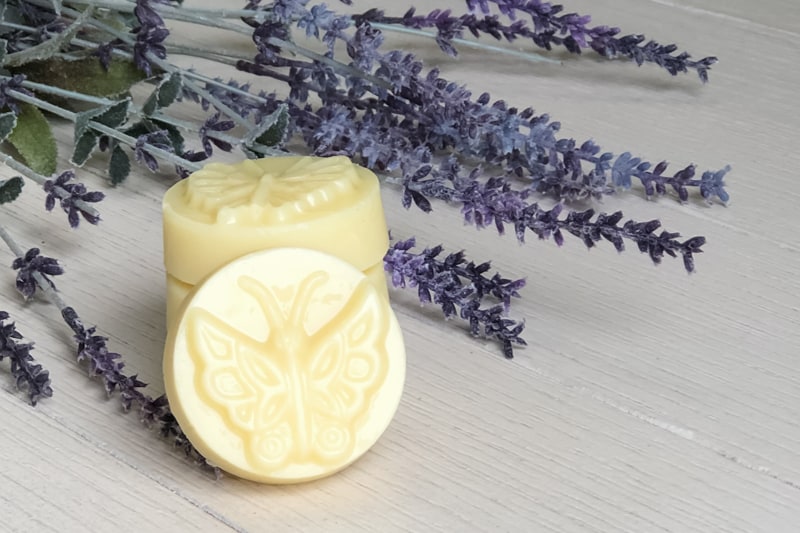
What is the size of the butterfly ones shown here? How many oz? How many bars did it make? Or maybe how many oz does the full batch make?
The butterfly molds hold about 1 oz and I believe the whole batch made about 8oz, maybe a little more. 🙂